
Craft a Beautiful Coffee Table with Your Own Hands
There’s something really special about making your own furniture. If your living room feels like it’s missing a centerpiece, a handmade coffee table might be just the thing. I’ll take you through every step here—from picking out your first board to brushing on that final protective coat. Whether you’ve never used a saw or you’ve spent time in a shop, this project is fun and doable. You could even knock it out over a weekend. So grab a pencil, and let’s get into it.

What Is a Coffee Table?
It’s that low table sitting right in front of your sofa. You put your drink there, your remote, a few magazines, maybe a small vase. The standard height is around 16 to 18 inches—low enough that you can reach everything without leaning forward awkwardly.
But these days, a coffee table does more than hold stuff. It’s often the visual anchor of the whole room. It tells people what your style is, and it ties all the other furniture together. You can go rustic, modern, minimalist—whatever fits your space. There’s a version for every taste and budget.
Tools and Materials
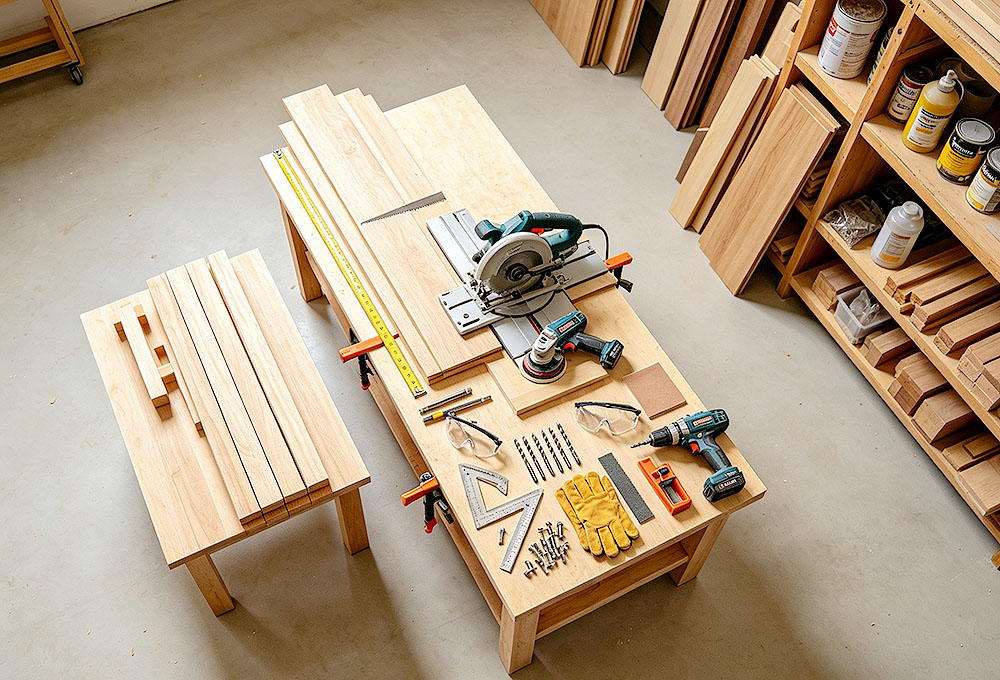
Get all your gear together before you make the first cut. Here’s the full shopping list:
Tools:
- Measuring tape
- Circular saw or hand saw
- Power drill with different bits
- Orbital sander or sandpaper (80‑grit, 120‑grit, 220‑grit)
- Wood clamps
- Carpenter’s square
- Safety glasses and work gloves
Materials:
- Wood planks for the top (pine, oak, or reclaimed)
- 4×4 lumber for legs
- Wood screws (2‑inch and 3‑inch)
- Wood glue
- Wood stain or paint
- Polyurethane or clear topcoat
Step 1: Design and Planning
Honestly, this is the part most people rush, and they regret it later. Before you touch any wood, grab a pencil and sketch out your idea. Think about where the coffee table will sit. Does it fit with your sofa’s color? Will it block the walkway? Also, decide on a shape—rectangle is classic, square is neat, round is softer, live‑edge is super trendy.
1. Measure the floor space in front of your sofa.
2. Draw a simple top view and a side view.
3. Choose rectangular, square, round, or live‑edge.
4. Set the height between 16 and 18 inches.
5. Decide if you want a lower shelf for extra storage.
Take that extra hour now—it saves you from buying wrong lumber or making crooked cuts later. A good plan gives you a table that looks like it belongs, works hard, and stays sturdy for years.
Step 2: Cutting Lumber to Size
Once your plan is done, it’s time to cut. But go slow—really slow. Double‑check every mark. You know that saying, “Measure twice, cut once”? It’s old but true. Most beginner screw‑ups come from rushing this step.
1. Cut the tabletop planks to the length you need.
2. Trim all four legs to exactly the same height.
3. Cut the braces for the apron (the frame underneath).
4. Use your square to make sure every corner is 90 degrees.
5. Lightly sand the cut edges so you don’t get splinters.
After you’re done cutting, look over each board. If you spot a big crack or a loose knot, swap it out now. Clean cuts make assembly so much easier, and they give your table that crisp, professional look.
Step 3: Building the Frame
The frame is the backbone. If it’s weak, nothing else matters. You want it solid, square, and locked together. Spread a good layer of wood glue on every joint—that adds serious strength—and then drive screws in at an angle for extra bite.
1. Apply wood glue to all the surfaces that will touch.
2. Attach each leg to the corner brackets.
3. Drive screws through the frame and into each leg.
4. Check every corner with your square.
5. Clamp everything and let the glue set for about 30 minutes.
I can’t stress this enough: a wobbly base ruins the whole piece. Even a gorgeous top won’t save it. So use a level to make sure the frame sits flat on the floor. No rocking allowed.
Step 4: Fitting the Tabletop
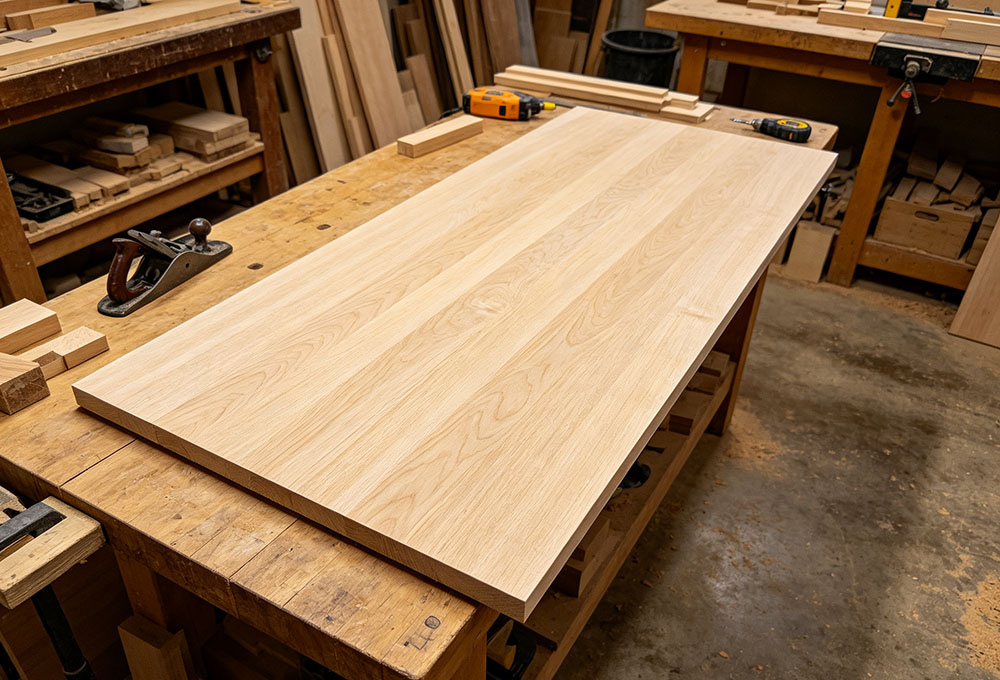
This is the fun part—putting the top on. Lay your planks out in the pattern you like best, then fasten them to the frame from underneath. That way, no screw heads show on the top surface.
1. Do a dry run: arrange the planks without glue or screws.
2. Mark where the screws will go on the frame.
3. Drill pilot holes so the wood doesn’t split.
4. Use countersunk screws from below to lock each plank.
5. If you’re using multiple boards, leave small, even gaps.
Once it’s attached, step back and look at it from different angles. Any warping? Any uneven spots? A perfectly flat top is what separates amateur from pro. It’s also what your guests will notice first.
Step 5: Full Sanding for Smooth Surfaces
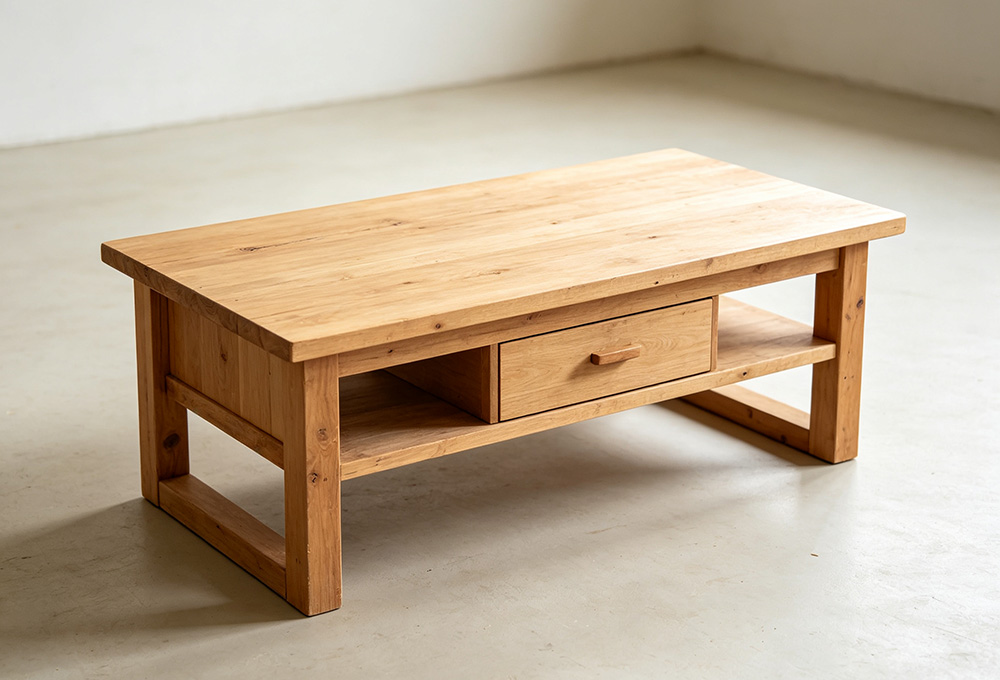
Sanding is boring, I’ll be honest. But it’s also the secret to a table that feels amazing to the touch. Start with coarse paper to erase all the big scratches and saw marks. Then move to finer grits until the surface is like glass. Don’t cheat this step—every minute you spend sanding shows in the final finish.
1. Start with 80‑grit to knock down the rough spots.
2. Switch to 120‑grit for the main sanding.
3. Finish with 220‑grit for a silky feel.
4. Always sand with the grain—never across it.
5. Wipe off the dust with a damp rag.
Run your hand over every edge and face. If you feel any roughness at all, sand a little more with finer paper. A smooth surface takes stain evenly and looks expensive, even if you used cheap pine.
Step 6: Applying the Finish
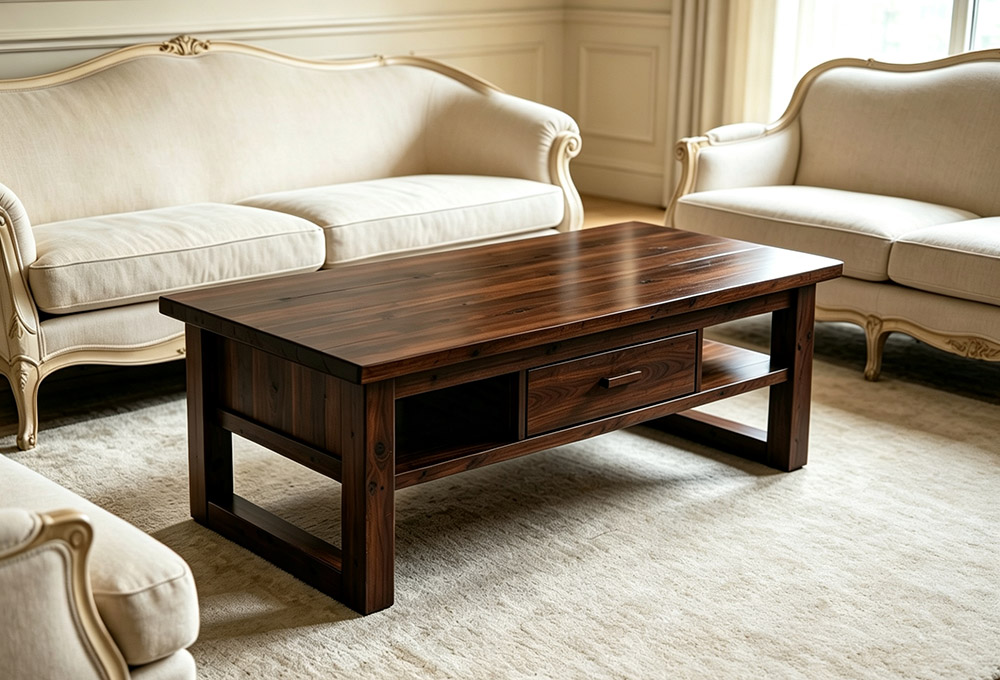
Here’s where your coffee table gets its personality. Clear oil or stain brings out the wood’s natural grain. Paint gives it a bold, modern look. Work in a place with good airflow, and wear a mask if the fumes bother you. The trick is thin coats—multiple thin layers are much better than one thick, gloppy coat.
1. Stir your stain or paint thoroughly.
2. Brush or wipe it on, following the grain.
3. Let the first coat dry all the way.
4. Lightly sand with 320‑grit between coats.
5. Put on 2‑3 coats of polyurethane for protection.
After the last coat is dry to the touch, leave the table in a ventilated spot for at least a couple of days. That lets the finish fully harden and the smell fade. Then you can carry it inside and enjoy it.
DIY Coffee Table vs Factory‑Produced Coffee Table
Making your own furniture gives you a huge sense of pride, and you learn a lot along the way. But store‑bought tables have their place, too. If you’re furnishing a whole office or opening a café, buying from a wholesale coffee table supplier is often the smarter move. Those factories can guarantee consistent sizing, sturdy builds, and all sorts of styles—many of which would be a pain to copy at home with basic tools.
1. DIY gives you total creative control.
2. Factory tables usually come with a warranty and customer support.
3. Wholesale prices drop a lot when you buy in bulk.
4. Professional finishes often hold up better to spills and scratches.
5. Mass‑produced pieces ship fast for big projects.
So which should you choose? It depends on your timeline, your skill level, and your wallet. Nothing beats handmade for uniqueness and that “I built this” feeling. But for efficiency and consistency, wholesale is hard to beat.
Building a coffee table from scratch is one of those projects that pays off in more ways than one. You start with raw boards and end with a piece of furniture you use every day. You learn patience, you learn precision, and you get a real sense of accomplishment. Even if your first attempt isn’t flawless, the skills stick with you. So grab your tools, pick out some nice lumber, and just start. Your living room—and your own confidence—will be better for it.
FAQ
1. How long does it take to build a coffee table?
Most beginners finish in 2‑3 days, counting design, cutting, assembly, sanding, and finishing. If you know your tools, you can do it in one weekend.
2. What’s the best wood for a coffee table?
Pine is cheap and easy—great for starters. Oak and maple are tougher and last longer, but they need sharper blades. Reclaimed wood gives you a unique look and is kind to the planet.
3. How much does a DIY coffee table cost?
Expect to spend around $50‑150, depending on wood and finish. That’s usually much less than buying a comparable ready‑made table.
4. Do I need advanced skills?
Not at all. If you can read a tape measure, saw a straight line, and drill a hole, you can build this. Just take your time and follow the steps.
5. How do I avoid water rings?
Always use coasters. Apply at least three coats of good polyurethane. Wipe up spills right away. For ultimate protection, add a glass top on top of the wood.