
How to Build a Drawer?
After having children, you might find your home filled with extra items. Toys, books, and clothes can pile up. This can make daily life less organized. Have you considered building a drawer? Drawers help store things neatly. They save space and are not hard to make. This guide will show you each step to build a useful drawer for your family.

Design the Cabinet and Drawer
Start by planning your drawer. First, measure the place where the drawer will go. You may put it inside a closet or under a shelf. Write down the height, width, and depth. If children will use it, keep the drawer low. About two to three feet high is good. Then children can reach their toys easily.
Next, pick the drawer size based on what you will store. For small toys, a shallow drawer works. Six to eight inches deep is enough. For bigger items, use a deeper drawer. Ten to twelve inches is better. You can also add dividers inside. Dividers help separate items and keep them tidy.
Finally, think about strength. Children’s things can be heavy. A simple rectangular design is strong and easy to build. Avoid shapes with curves. They are harder to cut and put together.
Prepare the Wood
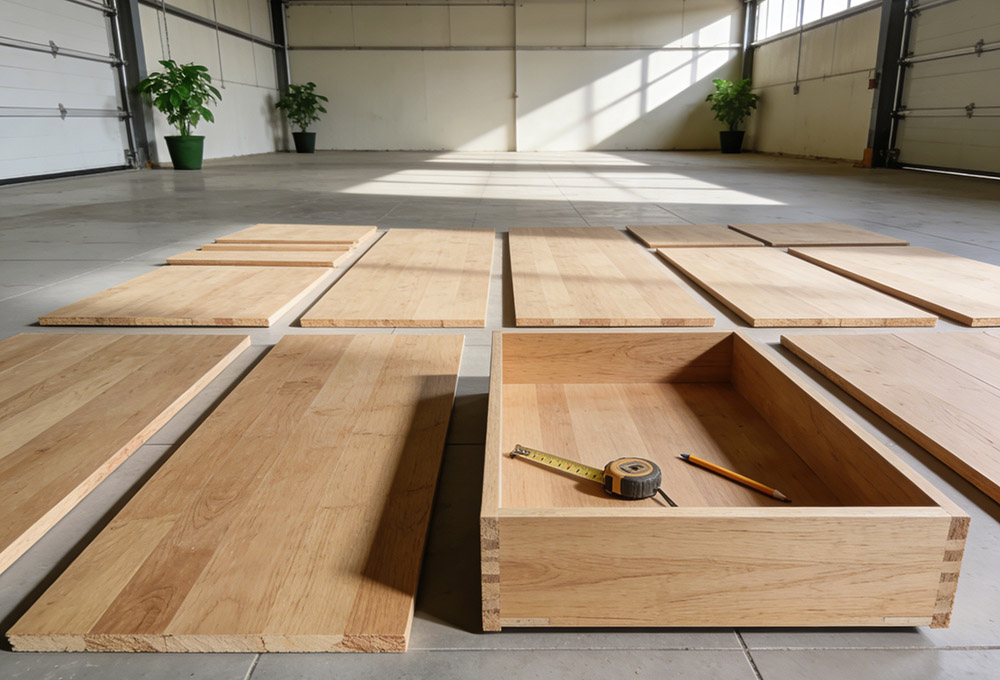
Good wood makes a strong drawer. Plywood is a common choice. It is strong and does not bend easily. Use half-inch or three-quarter-inch thickness. Half-inch is light for small drawers. Three-quarter-inch holds heavier loads. Pine wood looks nice but is softer. Do not use it for very heavy items.
Now, measure and mark the wood pieces. You need four sides and one bottom. Use a tape measure and pencil. A square tool helps make straight angles. Check your measurements twice before cutting.
Cut the wood with a saw. A handsaw works for small projects. A circular saw is faster. Always wear gloves and safety glasses. After cutting, sand the edges. Use fine sandpaper. Smooth edges prevent scratches. This is important for homes with kids.
Let the wood sit indoors for one day before building. This lets the wood adjust to the air inside. Then wipe off dust with a dry cloth.
Gather the Tools
You do not need many tools. Start with measuring tools. A tape measure and a square are useful. A pencil marks the wood.
For cutting, choose a saw you can use safely. A handsaw is simple. A circular saw cuts faster. Some stores will cut wood for you if you ask.
For assembly, you need a drill and screws. Use one-and-a-quarter-inch or one-and-a-half-inch wood screws. A screwdriver tightens them. If your drawer has a front panel, you will need hinges. Pick small hinges that move smoothly.
Also get safety glasses and work gloves. Clamps hold wood together while you work. Sandpaper smooths rough spots. A damp cloth cleans dust.
Assemble and Install the Drawer
Begin by building the drawer box. Place the two side pieces flat. Attach the back piece to the sides. Drill small pilot holes first. This stops the wood from splitting. Use two or three screws per corner. Tighten them with a screwdriver. Clamps keep the pieces steady.
Then attach the front panel. Line it up with the sides. Make sure there are no gaps. Drill pilot holes and add screws. Check each corner with your square tool. Adjust if it is not straight.
Next, add the bottom panel. Slide it into place or lay it on the lower edges. Secure it with screws. Space screws every six to eight inches. Sand the whole box again to remove rough spots.
Now install the drawer into your cabinet or shelf. Center the drawer in the opening. Attach hinges if you are using them. Test opening and closing. Adjust if it is too tight or loose.
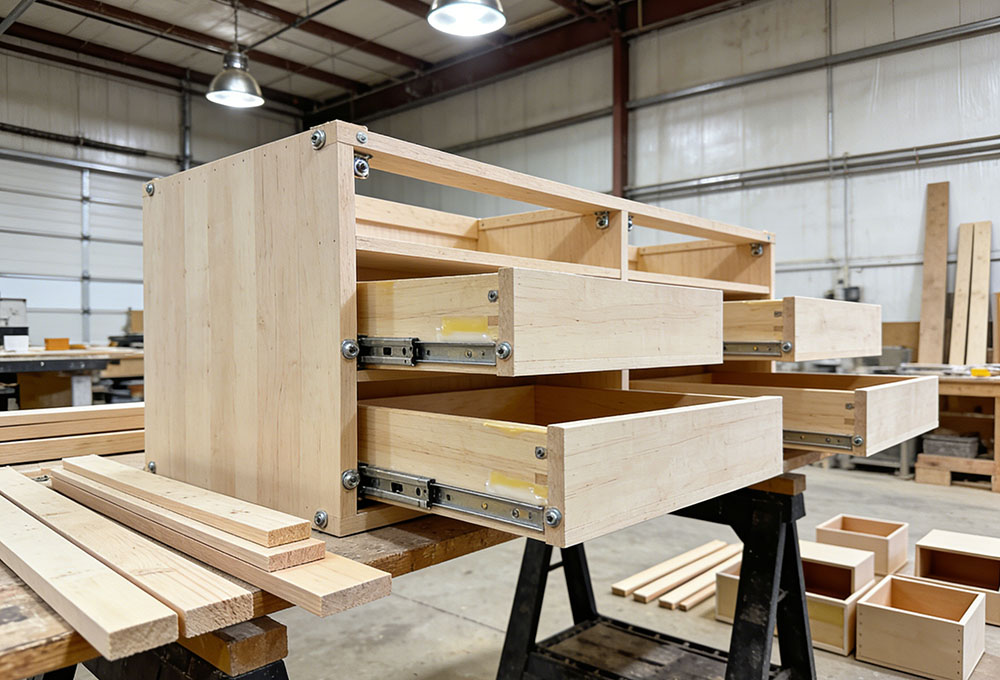
Install Drawer Slides
Drawer slides help the drawer move smoothly. Side-mount slides are easy to install. For children, choose slides with a soft-close feature. This protects fingers.
Mark where the slides go on the drawer and cabinet. Keep them one to two inches from the bottom. Use a level to keep them straight.
Attach the slides to the drawer first. Lay the drawer on its side. Line up the slide and drill pilot holes. Secure with screws. Do the same on the other side.
Then attach the other part of the slides inside the cabinet. Slide the drawer in until it locks. Test the movement. If it sticks, adjust the slide position.
For wide or heavy drawers, add a center slide. This prevents sagging. Install it the same way as the side slides.
Paint the Drawer
Painting makes the drawer look finished. It also protects the wood. Start by cleaning the drawer with a damp cloth. Let it dry. Sand it lightly so the paint sticks well.
Choose safe paint for a home with kids. Latex paint is easy to clean and has low odor. Pick non-toxic or low-VOC paint. If you prefer a natural look, use wood stain.
Apply paint with a brush or roller. Use a brush for edges. Use a roller for large areas. Put on a thin coat first. Let it dry for two to four hours. Sand lightly between coats. Apply a second coat and let it dry completely.
For extra protection, add a clear topcoat. Polyurethane works well. It makes the drawer easier to clean. Let the topcoat dry for one day before use.
You can paint the drawer a fun color. Use stencils for designs. Make sure the paint is fully dry before children touch it.
More Options
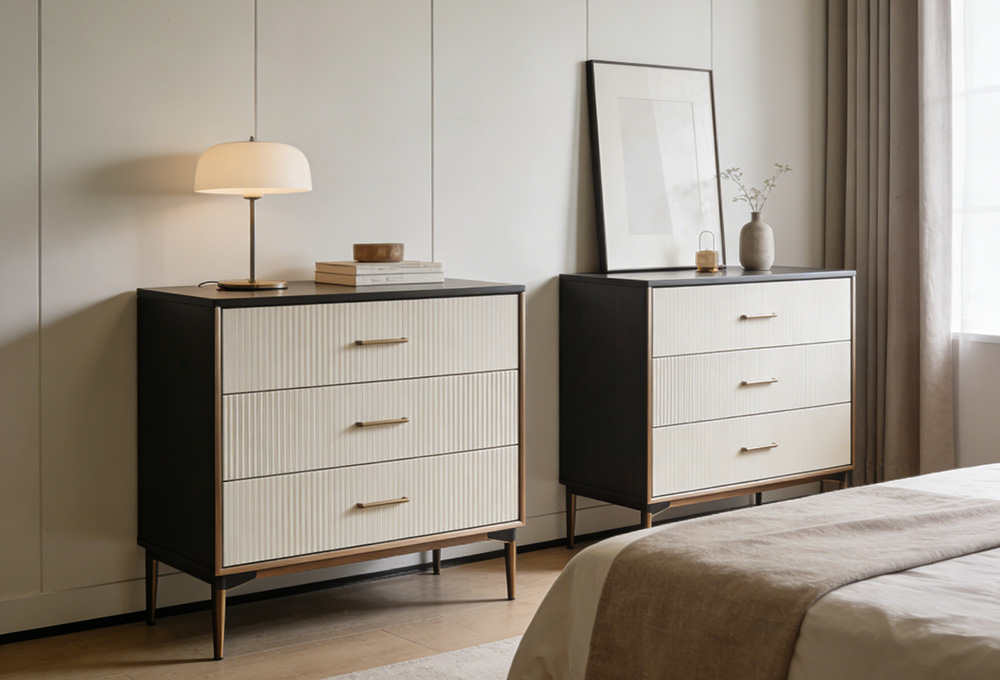
If building a drawer seems too hard, there is another way. You can buy ready-made drawers. Visit a wholesale furniture manufacturer. They offer many styles and sizes. You can find small drawers for toys or deep ones for linens.
Ready-made drawers save time. They are built with strong materials. They can handle daily use. You can choose different colors and finishes. Wholesale prices are good for families on a budget.
If you need many drawers, buying wholesale drawer is even better. Some manufacturers also take custom orders. You can ask for special sizes or features like dividers.
Building a drawer is a useful DIY project. It helps organize your home. Follow these steps: design, prepare materials, assemble, add slides, and paint. The result is a custom storage space that saves room and reduces clutter.
If you prefer not to build, ready-made drawers are a great choice. They are convenient, strong, and affordable. Either way, a good drawer makes your home tidier and more functional for the whole family. Try it—you will appreciate the extra storage.