
How to Make a Headboard?
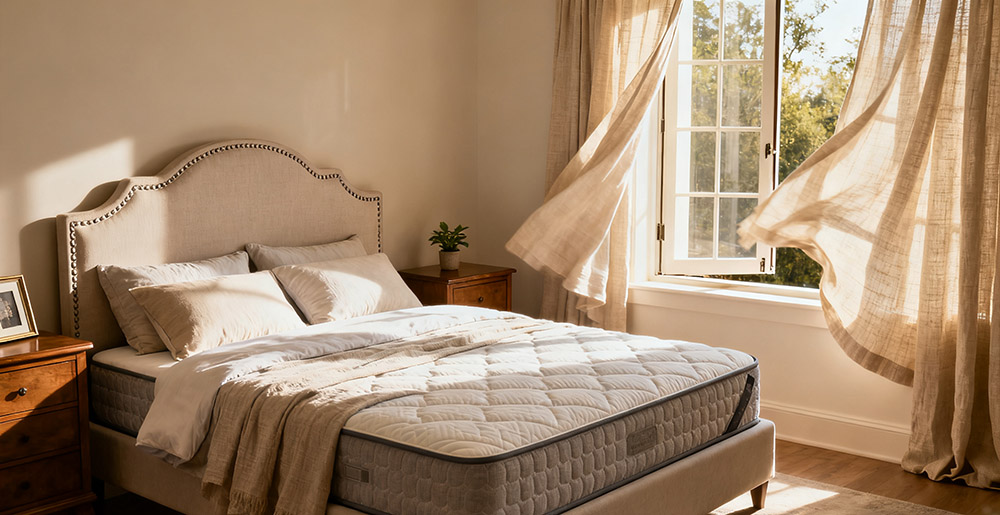
A headboard adds style to your bedroom. Store-bought options can be expensive. They might not match your taste. A DIY headboard is a budget-friendly project. You can customize every part. This guide is for everyone, from beginners to those with experience. It will show you how to build your own headboard simply and clearly.
Required Materials
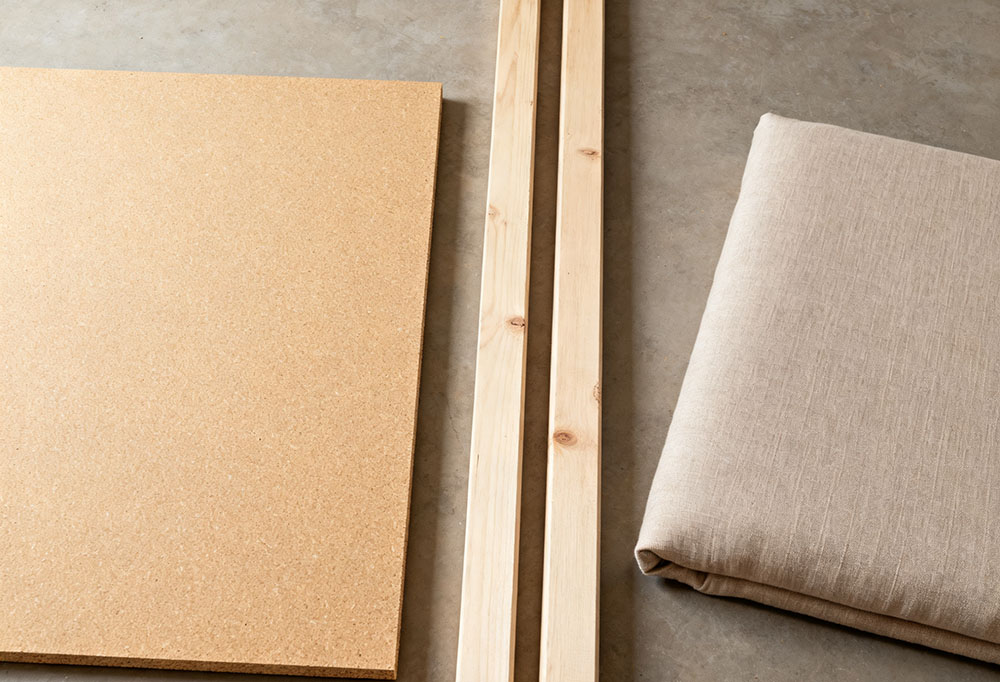
You need the right materials for a strong and good-looking headboard. Start with a base. A fiberboard, or MDF, works well. It is sturdy and affordable. Cut it to your desired size. A thickness of 1/2 to 3/4 inch is best.
You also need legs. Use solid wood boards like pine or poplar. They are strong. Cut the legs to be 12 to 18 inches tall. This height works with most mattresses.
Then, choose upholstery fabric. Pick something durable that fits your style. Cotton, linen, or microfiber are popular choices. You will need foam for softness. Use foam that is 2 to 3 inches thick. Add cotton batting to smooth the foam's texture.
Finally, gather small supplies. You need wood screws to attach the legs. You need staples to secure the fabric. These items keep your headboard sturdy.
Required Tools
You do not need fancy tools. Start with measuring tools. A tape measure is essential. A straightedge helps mark straight lines.
For cutting, a handsaw works for wood. A circular saw is faster. Always wear safety goggles. A cordless drill is necessary for making holes.
A staple gun is a must for the fabric. Use a heavy-duty model. Sharp fabric scissors cut the upholstery neatly. Also have sandpaper to smooth wood edges. A pencil marks measurements. A needle and thread can fix small gaps.
Step-by-Step Instructions
Step 1: Measure and Plan
Decide on your headboard's size. It should be slightly wider than your mattress. Add 2 to 4 inches on each side. For a queen bed, aim for 60 to 64 inches wide. Mark these dimensions on the fiberboard. Also, measure and mark the wood legs.
Step 2: Cut the Materials
Cut the fiberboard along your marked lines. Use a saw. Take your time for a straight cut. Then, cut the wood boards for the legs. Sand all rough edges on the fiberboard and legs. This prevents splinters.
Step 3: Prepare the Upholstery
Lay your fabric on a clean, flat surface. Place the foam on the fabric. Then place the cotton batting on the foam. Center the fiberboard on top. Cut the fabric, batting, and foam. Leave 4 to 6 inches of extra material beyond the board's edges.
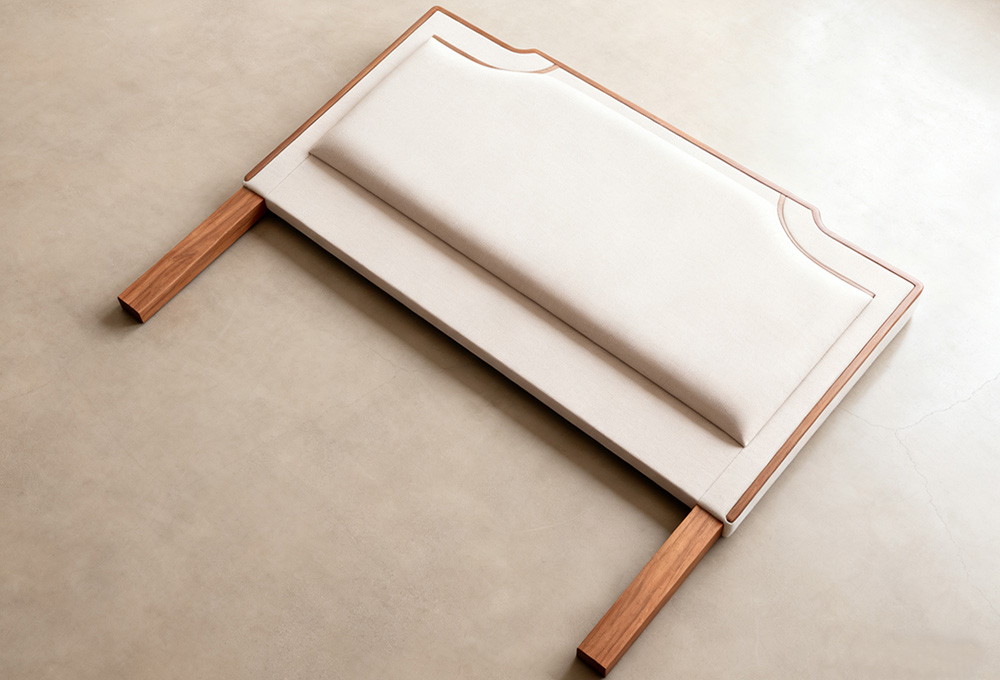
Step 4: Assemble the Frame
Attach the legs to the back of the fiberboard. Position each leg 2 to 3 inches from the edge. Drill pilot holes first. This prevents the wood from splitting. Then, drive wood screws through the holes. Ensure the legs are straight.
Step 5: Wrap and Secure the Upholstery
Wrap the fabric, batting, and foam around the fiberboard. Pull the material tight. Use the staple gun to secure it to the back. Start with the top and bottom edges. Then do the sides. Space staples 1 to 2 inches apart. Fold the fabric at the corners neatly. Staple the folds down.
Step 6: Attach to the Bed Frame
Place the headboard behind your bed. Align the headboard's legs with the bed frame's legs. Use bolts or screws to attach them. Tighten the hardware until the headboard is stable. Test it by sitting against it. Make adjustments if needed.
How to Design a Beautiful Headboard?
A beautiful headboard focuses on balance and style. First, match the size to your bed. A too-small headboard looks out of place. Next, coordinate the color with your room. Neutral colors like beige or gray work with any style. Bold colors make a statement.
Texture adds depth. Mix materials like linen and wood. Add quilted fabric for a cozy feel. Consider small details. Buttons or piping can improve the look. Finally, think about your bedroom's overall style. A simple headboard fits a modern room. A curved design suits a traditional space.
Recommended Headboard Styles
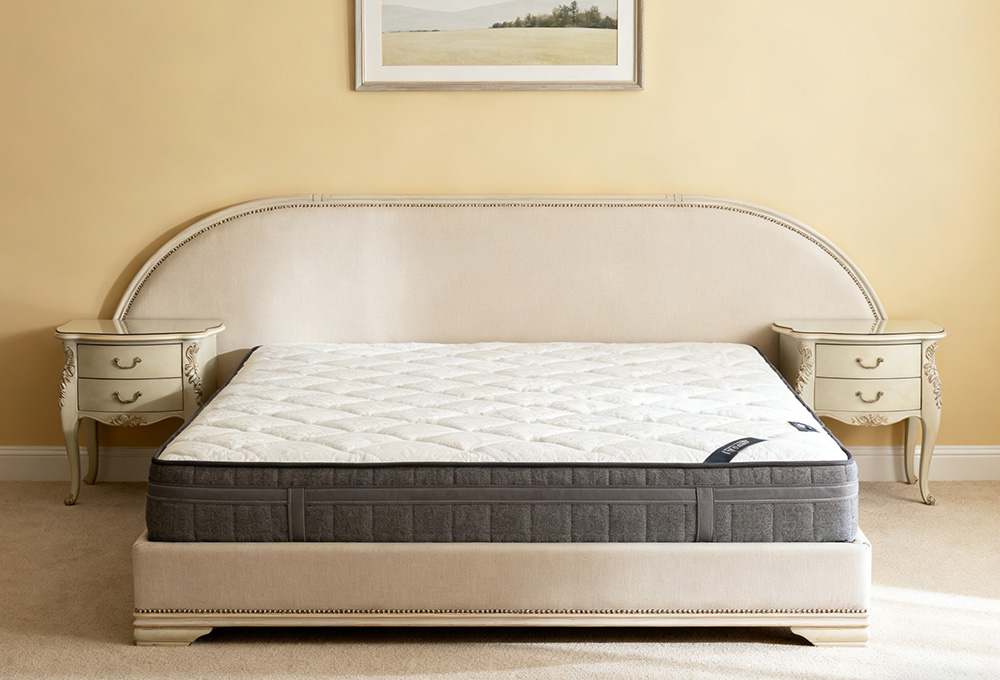
- Simple Rectangular Upholstered
This style is perfect for beginners. It has straight lines and a padded surface. You can customize the fabric. It fits modern, bohemian, or traditional bedrooms. The simple shape makes it easy to build.
- Curved Top Headboard
This style adds a soft touch. Mark a gentle curve on the top of the fiberboard before cutting. The curved shape is elegant. It is great for romantic decor. Use linen fabric for a dreamy look.
- Wooden Slat Headboard
This style has a rustic feel. Skip the upholstery. Use multiple thin wood boards. Attach them to two horizontal support boards. Then add legs. Sand the slats smoothly. Stain or paint them. It is durable and easy to clean.
- Tufted Headboard
This style looks luxurious. After wrapping the fabric, mark spots for buttons. Drill small holes at each mark. Push a button through each hole. Secure it with a knot on the back. It works with traditional or glamorous decor.
- Upcycled Pallet Headboard
This is an eco-friendly option. Use old wooden pallets. Disassemble them and sand the boards. Arrange the boards to form a headboard shape. Attach them to a frame with legs. Stain or paint them. This style is rustic and budget-friendly.
DIY vs. Store-Bought Headboards: Which Is Better?
DIY Headboards
Making your own headboard has advantages. You control the materials. You can choose high-quality fiberboard and durable fabric. Customization is a major benefit. You can match the size and style to your exact needs. There is pride in using something you built yourself. DIY is also budget-friendly, especially with repurposed materials.
Store-Bought Headboards
Store-bought headboards are convenient. They are designed by experts. The construction and finish are often polished. Wholesale headboard supplier offer many styles at lower prices. They are easy to install. However, they lack customization. Cheaper models may use low-quality materials. They are a good choice if you are short on time.
Making your own headboard is a rewarding project. It saves money and adds a personal touch to your bedroom. With basic materials and simple tools, you can create a sturdy, stylish headboard. Whether you choose a padded design or a rustic wooden style, you will have a piece you are proud of.
Store-bought headboards are convenient, but DIY offers unique customization and emotional value. So, gather your tools, pick your materials, and begin. Your dream headboard is only a few steps away.
Would you like me to help you refine a specific section or create a printable checklist of materials and tools to make the DIY process easier?